
Menu operations
How to proofread a mobile restaurant menu before publishing
Check facts, prices, descriptions, links, navigation, and phone layouts with a practical publishing workflow.
aiMenuu Editorial Team · August 5, 2026 · 8 min read
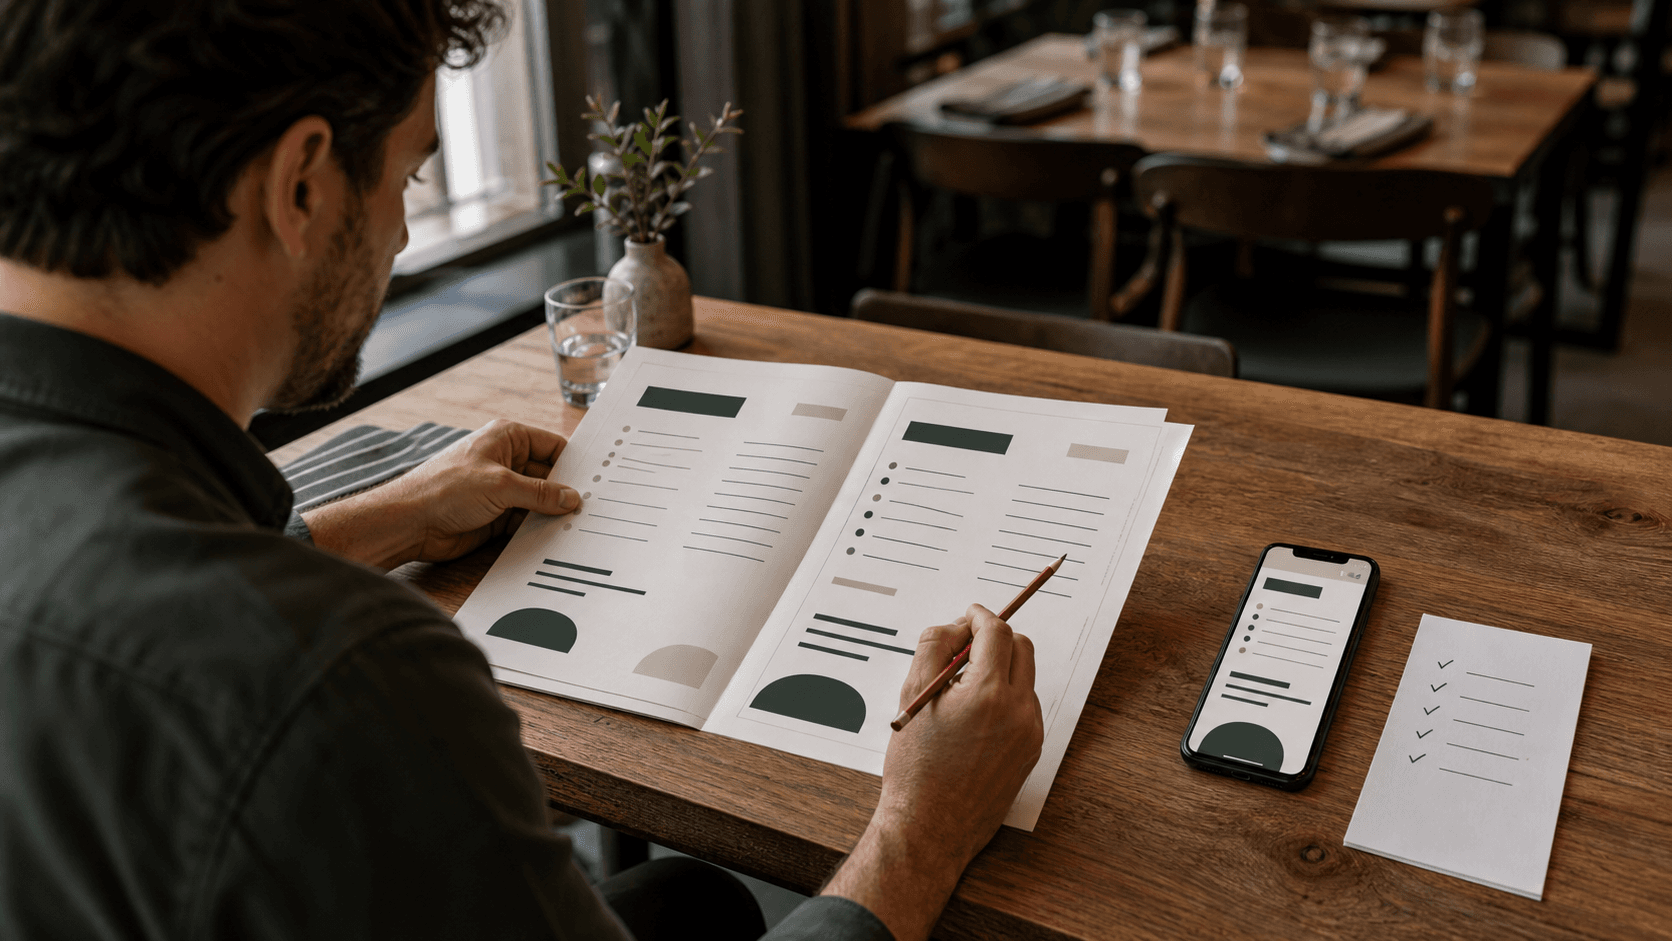
Proofread a restaurant menu in separate passes for facts, language, consistency, layout, and final output. Finish by testing links and QR codes on real devices and asking a second reviewer to check the final files rather than an earlier draft.
How do you proofread a restaurant menu?
Proofread a restaurant menu by checking one type of issue at a time. First verify factual content: item names, ingredients, portions, prices, options, and availability. Next review spelling, punctuation, capitalization, and description style. Then inspect hierarchy, alignment, spacing, and page flow. Separating the passes makes errors easier to see than trying to judge everything at once.
The final review should happen in context. A sentence can be correct in a document yet wrap badly in a narrow menu column. A price can be accurate in a spreadsheet but old on the mobile page. A QR code can look sharp but point to the wrong environment. The goal is not merely error-free copy; it is one dependable guest experience across every format the restaurant actually uses.
Start with one approved source of truth
Before reviewing typography or commas, decide which menu content is authoritative. Gather the current item names, descriptions, prices, option labels, and category order in one working version. Resolve conflicts between an old PDF, a countertop insert, a social post, and the current mobile page before the proofing round begins. If reviewers compare different sources, they may correct a new menu back to an outdated version without realizing it.
Give the draft a simple version label and a cutoff time for changes. Any revision after that point should be recorded in the same source and deliberately carried into each output. This does not require complicated software; a dated version and a short change log are enough for a small restaurant. An AI restaurant menu builder can help keep structured content together, but the owner still needs to identify who approves facts and when a version is ready to publish.
Separate decisions from proofreading
Proofreading is slow when every line triggers a new product decision. Mark unresolved questions—such as whether a seasonal item remains, which size is standard, or which description is approved—and send them to the responsible person. Once those decisions are settled, restart the factual pass on the clean version. This keeps a reviewer from polishing wording that will be removed and prevents unapproved guesses from becoming public information.
Verify every menu fact before editing the prose
Read the menu as a set of claims. Does each item still exist? Is the listed preparation current? Are the visible ingredients and sides included with the order? Are sizes, quantities, and optional additions described clearly? Ask the person closest to the item to confirm details that cannot be verified from the approved record. Do not assume a familiar dish name guarantees the same recipe, portion, or accompaniment at every restaurant.
Check category placement and item order at the same time. A duplicate item may be intentional, but both appearances must match. A soup listed under Lunch and Specials should not have different descriptions or prices unless the difference is deliberate and explained. The menu organization guide is useful before this stage; proofreading should confirm the chosen structure rather than redesign it line by line.
Read item names against their descriptions
Compare the name and description as a pair. The description should clarify what the name does not already explain, and the two should not contradict each other. Check that defining ingredients appear consistently, preparation terms are accurate, and optional choices are distinguishable from included components. Use the menu description guide when the wording needs a fuller rewrite; during final proofing, focus on whether the approved wording is accurate and understandable.
Audit prices and option formatting in a separate pass
Price errors are easy to miss when they sit inside dense copy, so review them independently. Move category by category and compare each displayed amount with the approved price list. Check sizes, add-ons, substitutions, tasting portions, and market-price labels. If an item appears in more than one place, compare both entries. Make sure a modifier is clearly presented as an additional amount rather than a second base price.
Then check presentation consistency. Decide whether the currency symbol appears on every price, how decimals are handled, and how multiple sizes are labeled. The right choice depends on the restaurant and local expectations, but the format should not change randomly within the same menu. Watch for transposed digits, missing zeros, mismatched separators, and prices that have wrapped onto a line where guests could associate them with the wrong item.
Do a reverse price check
After reading from the source to the menu, reverse the process: point to each price on the final menu and find its matching approved item. This catches orphan amounts, duplicated rows, and layout shifts that a normal comparison may miss. It is especially useful after a late item insertion because one moved line can make several neighboring prices look attached to the wrong descriptions.
Review spelling, punctuation, and menu voice
Once the facts are stable, read for language. Build a short style sheet for recurring choices: capitalization of item names, treatment of numerals, spelling of cuisine-specific terms, punctuation in descriptions, ampersand versus “and,” and whether descriptions end with periods. Consistency helps a menu feel edited and makes genuine differences easier to notice. It also stops several reviewers from repeatedly changing the same preference back and forth.
Read slowly enough to notice small words, but also read whole sections aloud. Hearing the text exposes repeated phrases, missing connectors, awkward ingredient lists, and descriptions that sound unlike the restaurant. Keep the voice specific and useful. Remove empty superlatives that do not help a guest choose, and confirm any origin, sourcing, house-made, award, or popularity claim before leaving it in the final copy.
Check proper nouns and culinary terms
Verify unfamiliar ingredient names, regional dish names, producer names, and trademarked products against a reliable source supplied by the restaurant. Accents and transliterations should be intentional and consistent. If the team uses a translated or bilingual menu, have a fluent reviewer assess meaning and natural phrasing rather than relying only on a character-by-character spellcheck.
Treat dietary and allergen wording as factual content
Dietary icons and allergen notes are not decoration. Confirm every vegetarian, vegan, gluten-related, nut-related, halal, kosher, or other guest-facing label with the people responsible for ingredients and preparation. Check sauces, garnishes, cooking fats, shared equipment, and supplier changes where relevant. Do not add a label because a dish appears to qualify from its name alone, and do not promise that an item is free from an allergen unless the restaurant can support that statement.
Requirements and appropriate wording vary by location and operation, so use the restaurant's established food-safety process and applicable local guidance. The menu should tell guests how to raise questions without implying that a short label replaces a conversation or the restaurant's procedures. During proofing, confirm that any note is readable, appears where guests can find it, and matches the symbols used beside individual items.
Proof the actual layout, not only the source document
Look for headings stranded at the bottom of a panel, descriptions split awkwardly across columns, images that crowd text, and prices that no longer line up with their items. The readable menu design guide provides the broader design principles; the proofing task is to make sure the final output still follows them after real content is inserted.
For mobile, test common phone widths with the browser at normal zoom, then increase text size and check that content remains readable. Confirm that headings follow a logical order and that useful alternative text describes meaningful images without repeating surrounding copy.
Look at the menu in low-attention conditions
A proofreader knows where every item is; a guest does not. Put the menu down for a short break, return without your notes, and try to find a common item, compare two options, and locate a price quickly. Ask someone who did not build the layout to do the same. Hesitation often reveals unclear category names, weak hierarchy, or ambiguous alignment that a close copy edit will not catch.
Test links, downloads, and QR destinations
Click every guest-facing link in the published test page. Confirm that navigation reaches the intended category or page, downloadable files open, images load, and there are no draft or private destinations. Test the canonical public URL directly rather than assuming a preview link will redirect correctly. If the menu is linked from the restaurant website or profile pages, check those paths too after publication.
Confirm that it opens the secure public menu, not a temporary preview, old PDF, editor, or staging domain. Use the restaurant QR code menu guide for placement and scanning details; the final proof should record the tested destination and date.
Use a two-person final review
The person who entered the content should complete the first structured pass because they understand the source and recent changes. A second reviewer should then inspect the final output independently. Fresh eyes are more likely to notice missing words, duplicated items, mismatched prices, and assumptions that the editor has learned to overlook. Give the second reviewer the approved source and a focused checklist rather than vague instructions to “look it over.”
Collect corrections in one place and assign one person to apply them. After changes are made, review the changed lines plus the surrounding layout, then repeat critical checks for prices, dietary labels, links, and QR destinations. Avoid accepting scattered edits through messages or marked-up screenshots without reconciling them; parallel correction lists can reintroduce issues that another reviewer already fixed.
A final restaurant menu proofreading checklist
Before approval, confirm that every category and current item is present; names, descriptions, portions, and options match the approved source; prices and price formats are correct; dietary and allergen wording has been verified; spelling and style are consistent; and duplicates agree. Then test links, downloads, public URLs, and every QR code.
Record the approved version, date, reviewer, and publication locations. Remove or archive obsolete files so a future update does not start from the wrong version. Restaurant menu templates can speed up the next layout, but a saved approval record is what helps the team distinguish a reusable structure from outdated content.
After the review, compare mobile restaurant menu templates with the complete approved content, then open the live mobile menu example on a real phone. The strongest result is accurate, easy to navigate, and comfortable to read before it is published for guests.
Verify again immediately after publishing
Open the public page in a fresh browser session, scan the physical QR code, and compare a few high-risk details with the approved source: one item from each category, every changed price, each dietary label, and the final contact or location information if shown. This short post-publication check catches deployment, caching, and file-replacement mistakes that are invisible in the prepublication proof. Only then should the version be marked complete.