
Menu import
How to turn a menu photo into an editable mobile menu
Photograph a paper restaurant menu clearly, import its content into editable fields, review the draft, and publish a mobile-friendly menu.
aiMenuu Editorial Team · August 28, 2026 · 10 min read
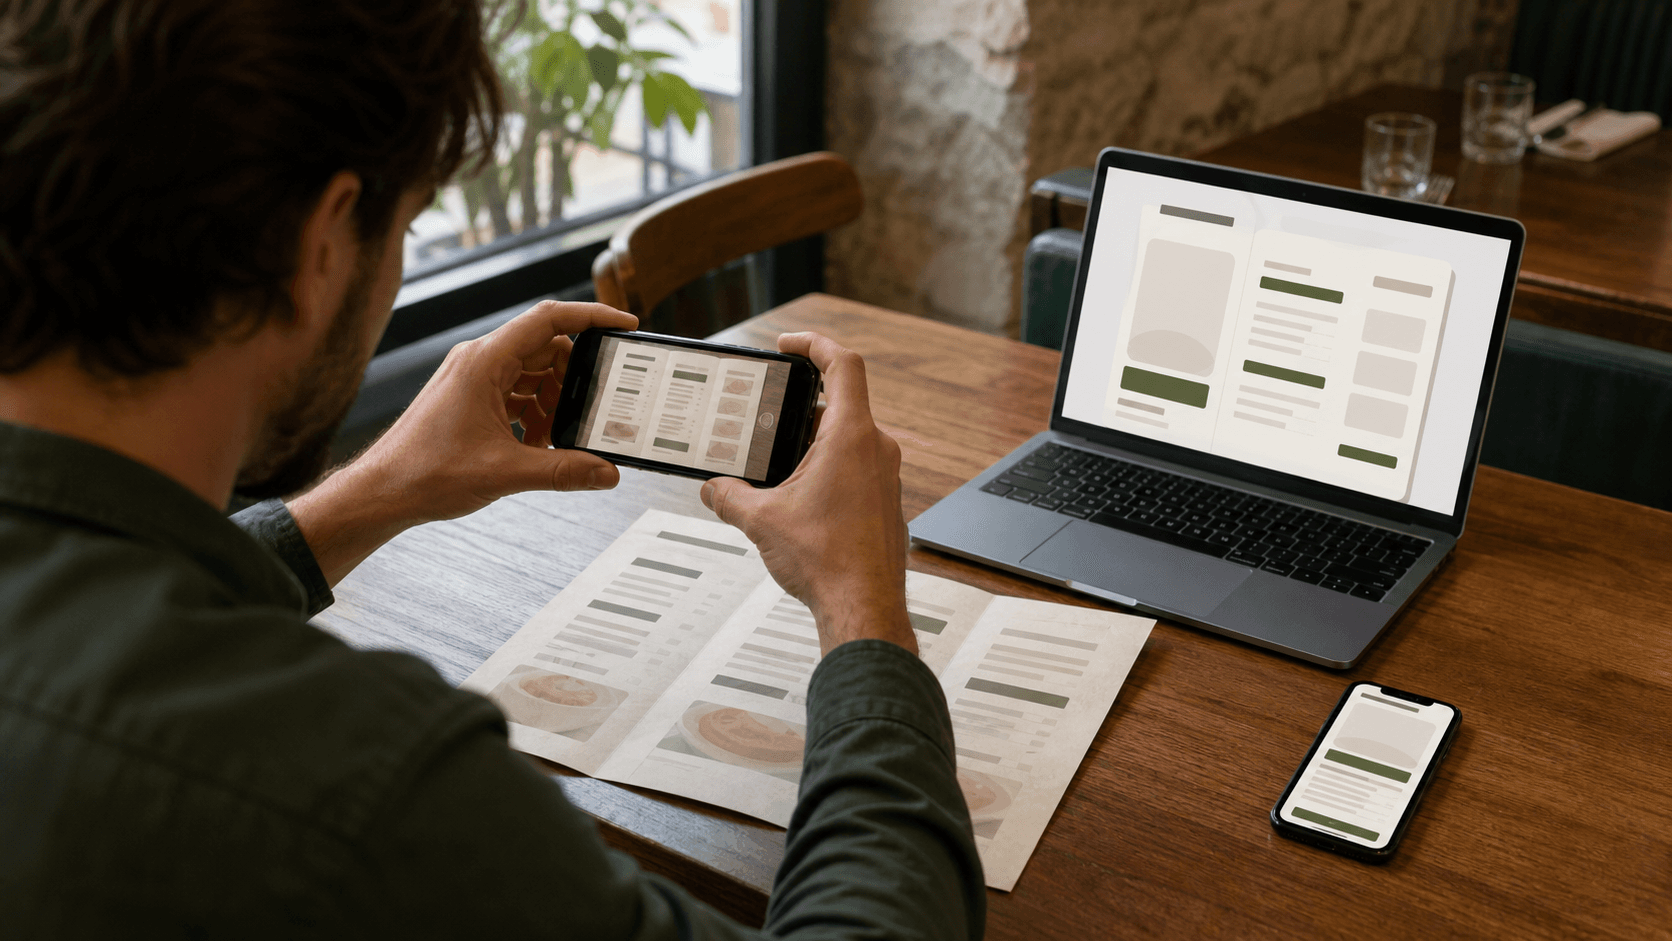
To turn a menu photo into an editable mobile menu, photograph every page straight, evenly lit, sharp, and complete; import the images in reading order; review the extracted categories, dishes, descriptions, and prices against the originals; then publish the approved content in a responsive mobile layout. The photo is the source, while the structured draft is what makes future corrections and updates practical.
Can a photo of a restaurant menu become editable?
Yes. A clear photograph of a paper menu can be used as the source for an editable menu when image understanding and text extraction convert the visible layout into structured fields. The useful result is not simply the photo placed on a web page. It is a draft in which categories, item names, descriptions, prices, and notes can be reviewed and changed independently.
That distinction is especially important on a phone. A photograph preserves the appearance of the paper, but guests may need to pinch and pan across it. Structured content can reflow to the screen width, keep a price connected to its dish, and let a guest move between categories without deciphering a full page at once.
The AI menu generator can reduce repetitive typing, but the restaurant remains responsible for the facts it publishes. A good import workflow produces a draft for approval rather than treating every recognized character as certain. If a price or item relationship is unclear, the owner should resolve it from the source before the menu goes live.
What does editable mean?
Editable means that the owner can correct one price, rename one category, hide one unavailable item, or reorder a section without photographing the entire menu again. A flat image can be replaced, but its individual facts are not structured. The conversion is valuable because it separates content from presentation while keeping the original photo available for comparison.
Choose the right menu before taking photos
Restaurants often have several paper versions in circulation: a dining-room menu, a takeaway copy, an older laminated version, a seasonal insert, and a staff sheet with handwritten changes. Before opening the camera, ask the owner or manager which version is approved for current service. Check a recently changed price and one current item to confirm the choice.
Decide what the mobile menu should include. A lunch and dinner menu may need separate named sections or separate saved menus if their prices and availability differ substantially. A catering sheet, private costing note, discontinued special, or supplier reference should not be photographed as part of a guest menu simply because it sits nearby.
Keep the approved paper source together until the import review is finished. Record the date and person who approved it. This creates a stable reference when a reviewer needs to decide whether a mismatch came from the photo, the extraction, an owner edit, or an obsolete piece of paper.
Prepare the paper and the table
Remove the menu from a reflective sleeve when the restaurant is authorized to do so, or position the sleeve so it does not throw bright reflections across the content. Flatten folds gently and keep curled corners from lifting toward the lens. Wipe away dust or fingerprints that could obscure small punctuation and decimal points.
Use a plain, contrasting surface with enough room around the page. A dark menu is easier to frame on a light table, while a pale sheet benefits from a darker background. Remove cutlery, receipts, hands, and decorative objects from the page edges so the camera can identify the complete document boundary.
Do not cover damaged or corrected areas to make the photo look cleaner. If the approved menu includes a handwritten change, confirm whether that change is current and enter it intentionally during review. If the print is too faded or torn for a person to read, ask for a better source rather than expecting software to reconstruct missing information.
Use even light and prevent glare
Soft daylight from a nearby window often works well, but direct sun can create hard shadows and bright patches. Overhead restaurant lights may reflect from coated paper or lamination. Move the page, switch off one troublesome light, or diffuse the light until every part of the menu is similarly bright and the page color looks natural.
Look through the phone screen rather than judging the table with your eyes alone. The camera may reveal a reflection that is easy to ignore in person, especially over black backgrounds, glossy food photos, or small price columns. Tilt the light source or move your body, but keep the phone itself parallel to the page.
Avoid using the flash directly over reflective material. A flash can make the center bright while leaving edges darker, and it can erase pale lettering inside the reflection. If the room is dim, add diffuse light or move to a brighter area. A slightly less dramatic photograph with even exposure is a better extraction source than a polished image with unreadable highlights.
How do you photograph a laminated menu?
Place it where large light sources reflect away from the camera, clean the surface, and check the preview at several angles. If moving the phone introduces perspective distortion, move or soften the light instead. Take a test photo, zoom into the darkest and brightest areas, and repeat until small text remains visible across the page.
Hold the phone parallel and capture the full page
Position the camera directly above the center of the menu and keep the phone back parallel to the paper. When one edge looks wider than the opposite edge, the camera is tilted and the text near the narrower side may be compressed. A small grid in the camera app can help align the page, but the final photo should still be checked by eye.
Include all four edges with a narrow border around them. Do not crop off the restaurant name, a category heading, the last line of a description, or a footnote because it seems decorative. Those elements can determine how the content is grouped. You can crop empty table later; you cannot recover a price or note that was outside the frame.
Use the normal camera lens when possible and move the phone rather than relying on digital zoom. Fill most of the frame while keeping the complete page visible. Hold steady, tap to focus near the text, and take more than one version if the first image looks soft. The best source is the clearest complete frame, not necessarily the first one.
Make every word and price readable
After taking a photo, zoom in on the smallest content instead of checking only the large title. Inspect decimal points, currency symbols, item numbers, size labels, dietary icons, and descriptions printed over textured backgrounds. If you cannot confidently distinguish similar characters, the import will also require more manual review.
Motion blur can be subtle at full-screen size. Look at letter edges and price columns for smearing or double contours. Rest your elbows, use a short timer, or support the phone above the page if needed. Retake the image rather than sharpening it aggressively; software cannot reliably restore characters that the camera did not capture.
Keep the original camera file until publication is complete. Sending the image through a messaging app can reduce resolution, change orientation, or apply compression. Upload from the phone's photo library or transfer the original file through a method that preserves it. If storage is tight, remove rejected duplicates only after the clearest set is safely identified.
Photograph multi-page and folded menus in order
Capture one complete page or panel at a time, following the way a guest reads the menu. For a folded menu, photograph the front cover only if it contains useful identity or guest information, then capture inside panels from left to right. For a booklet, follow page order. Rename or select files in that same sequence before uploading.
aiMenuu accepts an ordered batch of up to five menu images for one import. Use that limit for the pages that belong together, not for five different menu versions. If the source has more pages, decide whether it should be divided into clear menus or sections before import rather than silently omitting pages.
Avoid unnecessary overlap between images. When a very large sheet must be captured in sections, include enough shared content to prove the sequence and review the merged draft carefully for duplicates. Do not split a single item between frames if moving slightly farther away can keep its name, description, and price together.
What if you already have a digital file?
Use the original file instead of photographing a screen whenever it is current and authorized. A photograph of a monitor adds glare, pixels, and perspective that were not in the source. If the restaurant has a current PDF, follow the PDF menu conversion guide and preserve the file's original text or page detail.
Run a final photo check before import
Lay out the selected images in order and compare them with the physical menu. Confirm that every page appears once, no page is upside down, and the sequence does not jump from one category to another. Check that the restaurant identity, first category, last item, and any menu-wide notes are present.
Zoom into the four corners and center of every image. Look for blur, shadow, glare, clipping, and low contrast. Pay special attention to price columns, narrow type, pale ink, and text printed across photographs. Replace a weak image now; finding the problem after a full content review wastes more time.
Separate files whose facts conflict. If a loose special repeats an item from the main menu at a different price, decide which amount applies and whether the special needs a date. The importer should not have to infer which of two plausible restaurant documents is authoritative.
Import the photos as structured menu content
Upload the chosen images together in their reading order. The import should identify restaurant identity, categories, item names, descriptions, prices, and supporting notes as related fields. A plain block of recognized text is not enough because a restaurant menu depends on which price and description belong to which dish.
Expect difficult layouts to need more attention. Dotted price leaders, several columns, item numbers, bilingual names, background photography, and category notes can all affect relationships. Preserve genuine cuisine terms and printed ingredients. Remove page furniture or decorative copy only when it is clearly not information a guest needs.
An AI menu generator evaluation guide can help owners compare import tools on accuracy, correction workflow, privacy questions, and the route from source to published result. Whichever tool is used, keep the source images unchanged and require a review step before extracted content becomes the public menu.
Review the extracted draft against each photo
Review in a fixed sequence. First compare restaurant identity, category count, category names, and order. Next count the items in each category. Then check every item name and description. Finish with prices, sizes, add-ons, dietary markers, and category-wide notes. This order makes missing or duplicated blocks easier to spot.
Read complete item relationships, not isolated words. A description can be spelled correctly but attached to the item above it. Two accurate prices can be reversed between small and large. A vegetarian marker can move to a neighboring dish. Compare each structured item with the same visual block in the photograph.
Mark uncertainty instead of guessing. Faint decimals, crossed-out prices, and text hidden by glare should go back to the owner. After structural review, use the restaurant menu proofreading checklist for a separate factual and presentation pass. The goal is an approved menu, not a draft that merely looks complete.
Which details deserve the closest review?
Check small prices, item numbers, size labels, add-on amounts, descriptions at column or page breaks, and symbols explained by a legend. Also compare characters that are easily confused in a photo, such as 1 and 7, 5 and 6, or a decimal point against a textured background.
Reorganize the approved content for mobile browsing
A paper menu can show several columns at once, while a phone usually presents one clear vertical path. Keep the approved content but remove page-boundary assumptions. An item at the bottom of one photographed panel does not need to remain separated from the rest of its category online.
Use familiar category names and keep related dishes together. If one section becomes very long, consider whether the source combines several guest tasks that should be named separately. The guide to organize a mobile restaurant menu explains how to clarify category order and item grouping without changing the restaurant's actual offer.
Do not shorten accurate descriptions simply to force the page into a visual pattern. Let names wrap, keep prices visibly attached, and preserve useful ingredient or preparation details. Mobile structure should improve navigation and readability while the owner-approved menu remains the factual source of truth.
Choose a layout only after the full menu is present
A design that looks good with six sample dishes may fail when it receives the restaurant's longest names, densest category, multiple size prices, and real descriptions. Load the complete approved draft before choosing a style. Test the hardest content, not only the first attractive screen.
Select one menu template based on readable type, clear category navigation, price behavior, photo needs, and the restaurant's character. A type-led style often suits a source menu without consistent dish photography. An image-led style is useful only when the restaurant has accurate photographs and can maintain them as items change.
Changing presentation should not change menu facts. Compare styles using the same category and difficult item. Confirm that descriptions remain available, prices stay connected, and important notes do not disappear. The best layout is the one that handles the restaurant's real content comfortably on an ordinary phone.
Test and publish the mobile menu
Open the full preview at a narrow phone width. Check the restaurant name, first useful category, navigation, longest item, smallest price, and final item in every section. Increase text size and look for overlap, clipping, detached prices, horizontal scrolling, or controls that are difficult to tap.
Ask someone who did not perform the import to find a category, compare two dishes, locate a multi-size price, and explain one unfamiliar item. Watch where they hesitate. Then compare the preview with a live mobile menu example so the team evaluates a real public reading experience rather than only an editor screen.
Publish to one stable HTTPS address only after the restaurant approves the draft and layout. Connect the permanent table QR code to that destination, then scan the actual code from the distance and lighting guests will encounter. The restaurant QR code menu guide covers destination stability, contrast, size, placement, and practical scan testing.
Avoid common photo-to-menu mistakes
The first mistake is using the photograph itself as the mobile menu. It may preserve the paper design, but it also preserves small type, fixed columns, and the need to zoom. Use the image as evidence for structured content, not as the final guest interface.
The second mistake is trusting a polished draft without comparing it with the photo. Missing categories, duplicated items, moved descriptions, and misread prices can hide inside an attractive layout. Review content before styling, then proof the rendered menu because wrapping and navigation can introduce a different kind of problem.
Other mistakes include mixing old and new pages, photographing a screen instead of using the original file, uploading compressed message attachments, hiding unreadable details with guesses, and creating a new QR code for every edit. Keep the job focused on accurate menu import, editing, mobile publication, and stable QR access.
Use a practical photo-to-menu checklist
Before capture, confirm the source is current, approved, complete, and intended for guests. Flatten the page, remove glare, use a plain surface, hold the phone parallel, include every edge, and take a sharp original-resolution image. For several pages, preserve reading order and keep each item block together.
Before publication, compare categories and item counts, verify every name, description, price, size, add-on, and note, and resolve uncertainty with the owner. Organize the approved content for a phone, test the densest section in the chosen layout, enlarge text, and scan the live QR destination.
When the source photos are ready, import your menu photos into aiMenuu, review the editable draft against each image, choose a mobile layout, and publish only after the facts are approved. Careful capture at the beginning makes extraction review faster, while structured content makes every later correction smaller than photographing and replacing the whole menu again.